> ## Documentation Index
> Fetch the complete documentation index at: https://wb-21fd5541-docs-1778-mysql-updates.mintlify.site/llms.txt
> Use this file to discover all available pages before exploring further.
# Launch multinode jobs with Volcano
This tutorial will guide you through the process of launching multinode training jobs with W\&B and Volcano on Kubernetes.
## Overview
In this tutorial, you will learn how to use W\&B Launch to run multinode jobs on Kubernetes. The steps we will follow are:
* Ensure that you have a W\&B account and a Kubernetes cluster.
* Create a launch queue for our volcano jobs.
* Deploy a Launch agent into our kubernetes cluster.
* Create a distributed training job.
* Launch our distributed training.
## Prerequisites
Before you get started, you will need:
* A W\&B account
* A Kubernetes cluster
## Create a launch queue
The first step is to create a launch queue. Head to [wandb.ai/launch](https://wandb.ai/launch) and in the top right corner of your screen, hit the blue **Create a queue** button. A queue creation drawer will slide out from the right side of your screen. Select an entity, enter a name, and select **Kubernetes** as the type for your queue.
In the configuration section, we will enter a [volcano job](https://volcano.sh/en/docs/vcjob/) template. Any runs launched from this queue will be created using this job specification, so you can modify this configuration as needed to customize your jobs.
This configuration block can accept a Kubernetes job specification, volcano job specification, or any other custom resource definition (CRD) that you are interested in launching. You can make use of [macros in the configuration block](/platform/launch/set-up-launch/) to dynamically set the contents of this spec.
In this tutorial, we will use a configuration for multinode pytorch training that makes use of [volcano's pytorch plugin](https://github.com/volcano-sh/volcano/blob/master/docs/user-guide/how_to_use_pytorch_plugin). You can copy and paste the following config as YAML or JSON:
```yaml theme={null}
kind: Job
spec:
tasks:
- name: master
policies:
- event: TaskCompleted
action: CompleteJob
replicas: 1
template:
spec:
containers:
- name: master
image: ${image_uri}
imagePullPolicy: IfNotPresent
restartPolicy: OnFailure
- name: worker
replicas: 1
template:
spec:
containers:
- name: worker
image: ${image_uri}
workingDir: /home
imagePullPolicy: IfNotPresent
restartPolicy: OnFailure
plugins:
pytorch:
- --master=master
- --worker=worker
- --port=23456
minAvailable: 1
schedulerName: volcano
metadata:
name: wandb-job-${run_id}
labels:
wandb_entity: ${entity_name}
wandb_project: ${project_name}
namespace: wandb
apiVersion: batch.volcano.sh/v1alpha1
```
```json theme={null}
{
"kind": "Job",
"spec": {
"tasks": [
{
"name": "master",
"policies": [
{
"event": "TaskCompleted",
"action": "CompleteJob"
}
],
"replicas": 1,
"template": {
"spec": {
"containers": [
{
"name": "master",
"image": "${image_uri}",
"imagePullPolicy": "IfNotPresent"
}
],
"restartPolicy": "OnFailure"
}
}
},
{
"name": "worker",
"replicas": 1,
"template": {
"spec": {
"containers": [
{
"name": "worker",
"image": "${image_uri}",
"workingDir": "/home",
"imagePullPolicy": "IfNotPresent"
}
],
"restartPolicy": "OnFailure"
}
}
}
],
"plugins": {
"pytorch": [
"--master=master",
"--worker=worker",
"--port=23456"
]
},
"minAvailable": 1,
"schedulerName": "volcano"
},
"metadata": {
"name": "wandb-job-${run_id}",
"labels": {
"wandb_entity": "${entity_name}",
"wandb_project": "${project_name}"
},
"namespace": "wandb"
},
"apiVersion": "batch.volcano.sh/v1alpha1"
}
```
Click the **Create queue** button at the bottom of the drawer to finish creating your queue.
## Install Volcano
To install Volcano in your Kubernetes cluster, you can follow the [official installation guide](https://volcano.sh/en/docs/installation/).
## Deploy your launch agent
Now that you have created a queue, you will need to deploy a launch agent to pull and execute jobs from the queue. The easiest way to do this is with the [`launch-agent` chart from W\&B's official `helm-charts` repository](https://github.com/wandb/helm-charts/tree/main/charts/launch-agent). Follow the instructions in the README to install the chart into your Kubernetes cluster, and be sure to configure the agent to poll the queue you created earlier.
## Create a training job
Volcano's pytorch plugin automatically configures the necessary environment variables for pytorch DPP to work, such as `MASTER_ADDR`, `RANK`, and `WORLD_SIZE`, as long as your pytorch code uses DDP correctly. Refer to [pytorch's documentation](https://pytorch.org/tutorials/intermediate/ddp_tutorial.html) for more details on how to use DDP in your custom python code.
Volcano's pytorch plugin is also compatible with [multinode training via the PyTorch Lightning `Trainer`](https://lightning.ai/docs/pytorch/stable/common/trainer.html#num-nodes).
## Launch
Now that our queue and cluster are set up, it's time to launch some distributed training. To start off with we will use [a job](https://wandb.ai/wandb/multinodetest/jobs/QXJ0aWZhY3RDb2xsZWN0aW9uOjc3MDcwNTg1/runs/latest) trains a simple multi-layer perceptron on random data using volcano's pytorch plugin. You can find the source code for the job [here](https://github.com/wandb/launch-jobs/tree/main/jobs/distributed_test).
To launch this job, head to the [job's page](https://wandb.ai/wandb/multinodetest/jobs/QXJ0aWZhY3RDb2xsZWN0aW9uOjc3MDcwNTg1/runs/latest) and click the **Launch** button in the top right corner of the screen. You will be prompted to select a queue to launch the job from.
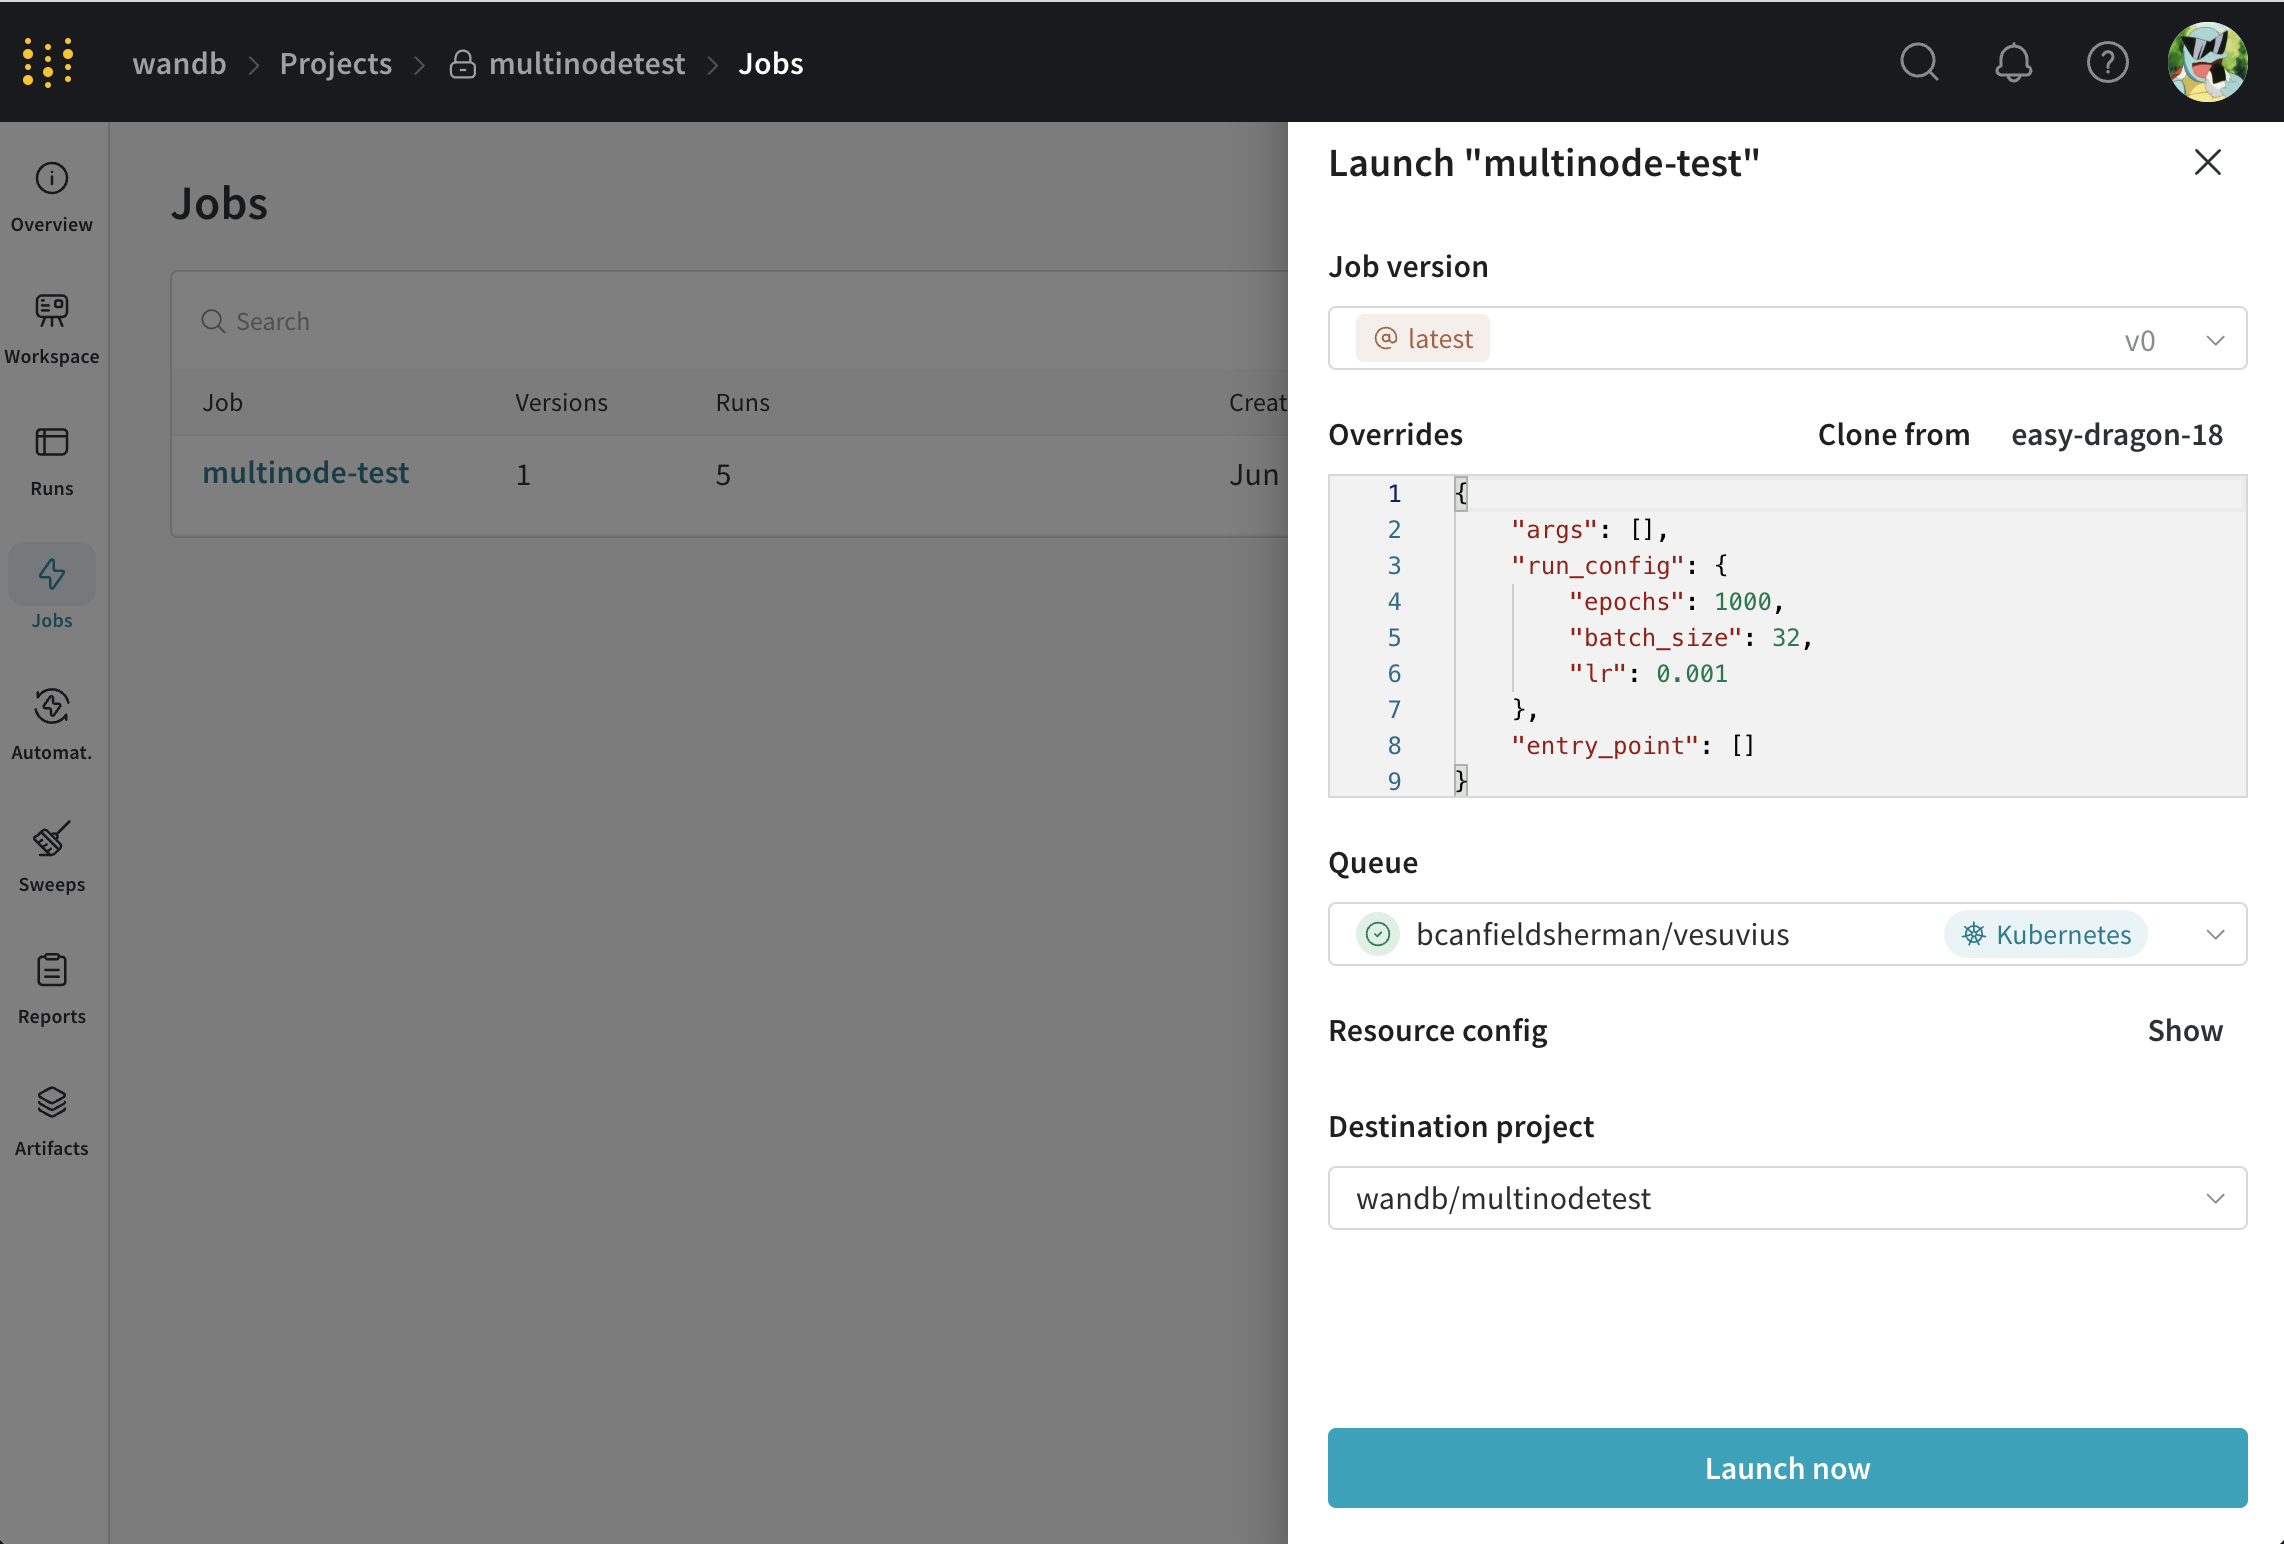 1. Set the jobs parameters however you like,
2. Select the queue you created earlier.
3. Modify the volcano job in the **Resource config** section to modify the parameters of your job. For example, you can change the number of workers by changing the `replicas` field in the `worker` task.
4. Click **Launch**.
You can monitor the progress and if necessary stop your job from the W\&B UI.
1. Set the jobs parameters however you like,
2. Select the queue you created earlier.
3. Modify the volcano job in the **Resource config** section to modify the parameters of your job. For example, you can change the number of workers by changing the `replicas` field in the `worker` task.
4. Click **Launch**.
You can monitor the progress and if necessary stop your job from the W\&B UI.